
Decoupaged Christmas ornaments Eccentricities by JVG Christmas
You can easily obtain free oyster shells from seafood restaurants to make oyster shell crafts. However, you need to take precautions before using them for a craft. Begin by washing in soapy water and remove any meat from the shells. Then, rinse and add them to a mixture of 1 part water and 1 part Clorox. Allow the shells to soak for several.

diy vintage picture and dictionary ornaments Christmas decoupage, Diy
How to Make Decoupaged Ornaments. Apply the mod podge in small sections on the ornament. Attach the fabric squares. Repeat process until the ornament is covered. Allow to dry completely. Apply a second coat of Mod Podge and allow to dry overnight. If desired, apply decorative embellishment with the glue gun.

Christmas decoupage, Handmade christmas ornaments, Christmas ornaments
How to make Decoupage Christmas Ornaments. Supplies List. Step 1: Cut fabric into 1.5″ strips. Step 2: Glue on fabric strips. Step 3: Cut and glue almond-shaped pieces. Step 4: Paint caps and tie ribbon (optional) Decoupage Ornament FAQ. Like this post? Check out more holiday ideas and inspiration:

Christmas Tree Decoration Decoupage Ideas DIY Christmas decoupage
Instructions. Cut your fabric into manageable bits using the scissors. Add Mod Podge to the paper mache ornament - place a piece of fabric down and then brush over it to smooth it down. Repeat, continuing to add Mod Podge and place more fabric squares. As you cover one side of the ball, let it dry.

Diy Christmas Ornaments, Xmas Crafts, Christmas Decoupage, Quilted
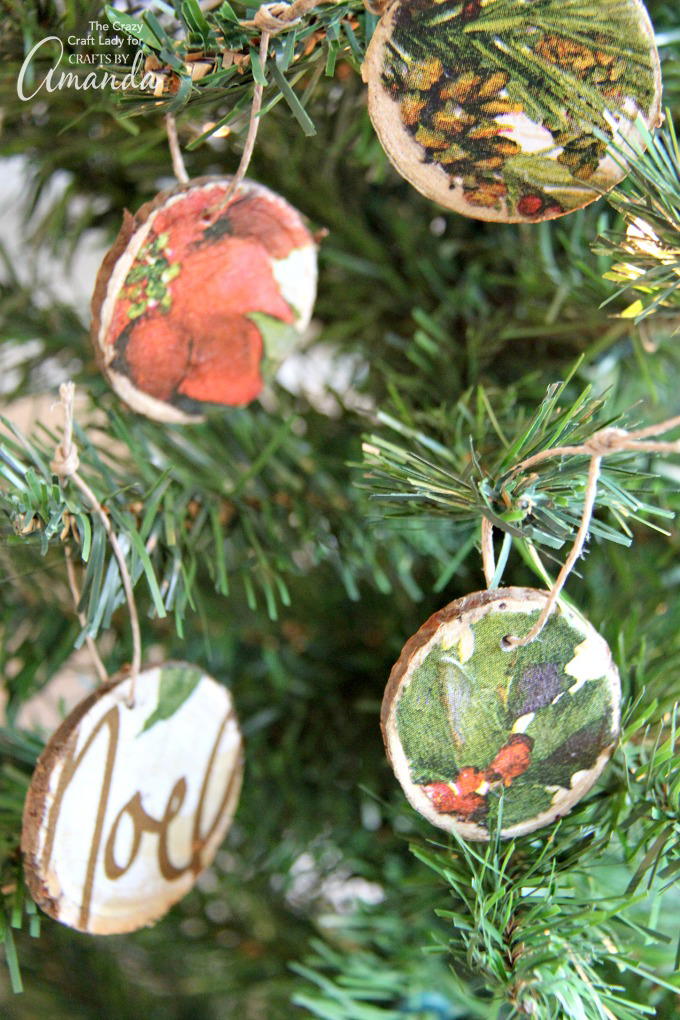
Peel apart the layers of the decorative napkin, and discard the bottom layer (the white piece). Cut a small square in the napkin, just a bit larger than the wood round. If there is text on the napkin, be sure to center this cut over the text. Apply a layer of decoupage glue over the white paint.

Pin on CHRISTMAS
Decoupage ornaments are an easy and inexpensive way to jazz up ordinary Christmas ornaments to match your home decor perfectly.

BluKatKraft Decoupage Christmas Ornaments DIY
Step: 1 Deck the Halls: Dive into Our DIY Project Christmas Balls. Step 2: DIY Ornament Magic: From Thumbnails to Craftful Cutouts. Step 3: Decoupage Details: Transforming Ornaments with Craft Glue. Step 4: Vintage Appeal: Decoupage Projects.

23 DIY DECOUPAGE CHRISTMAS ORNAMENTS
After the paint has dried, apply a thin layer of decoupage glue to the wooden ornament. (Thicker papers need extra glue.) Attach the image, smoothing the image as you work. Apply extra glue under the edges if needed. Apply a thin layer of glue to the top (while the bottom layer is still wet.) Let it dry and repeat the steps for the back.

decoupage Christmas ornament DIY ideas decorations craft tutorial YouTube
How to Make these DIY Ornaments: Apply a thin layer of glue in small sections on the ornament. Attach the fabric squares or your small pieces of paper. Repeat process until the ornament is covered. Allow the decoupage glue to dry completely. Apply a second thin layer of Mod Podge and allow to dry overnight.

4" decoupage ornaments featuring Christian images for each day of
Watch and learn how to make this beautiful Decoupage Christmas Ball! Christmas home decoration idea.For this Decoupage Christmas Ball you will need: one styr.

Decoupage Christmas Ornaments / Winterwood Decoupage Christmas Ornament
Step 3. Add mod podge. Cover the ornament with a layer of mod podge. I like to use foam brushes. They are cheap and work great! Step 4. Attach image. Place the image onto the ornament and press lightly to adhere. A super helpful tip for decoupage is to use plastic wrap to secure the image and remove any wrinkles.

Decoupage Christmas Ornaments / Pin by Niki Sk on Nikis decoupage
This video is a tutorial on how to make Spectacular Christmas Ornaments. The supplies needed are: ️ Rice paper 45350 https://aistcraft.com/decoupage-rice-pap.

a bowl filled with assorted ornaments on top of a table
Place a wooden Christmas tree ornament on the wrong side of the tissue or wrapping paper. Trace with a pencil. Cut out the tissue paper (or wrapping paper) tree. Pour out some mod podge onto a paper plate. Using a sponge paintbrush or roller, cover one side of the tree evenly with the mod podge.

Decoupage ornaments, why didn't we think of this?! Christmas crafts
Create beautiful Christmas ornaments for your tree using Decoupage Queen rice paper, moulds, paint and Diamond Dust. See all available Rice papers from Deco.
DIY Decoupage Wood Slice Ornaments
Use a hot glue gun to apply embellishments. Add jump rings (made for jewelry crafting) to connect the beads. Loop a colorful ribbon through the top to hang it on the tree. Use 3-inch embroidery.

Decoupage Christmas Ornaments (I want to try make some ornaments look
Time needed: 30 minutes. How To Makeover Ball Style Christmas Ornaments. Gather Ornament (s) and Supplies. Place everything on a work surface covered with newspaper. Line box or tray with a sheet of paper. This sheet of paper will be to catch excess glitter so you can reuse it. Print Free Printable and Cut Into Strips.